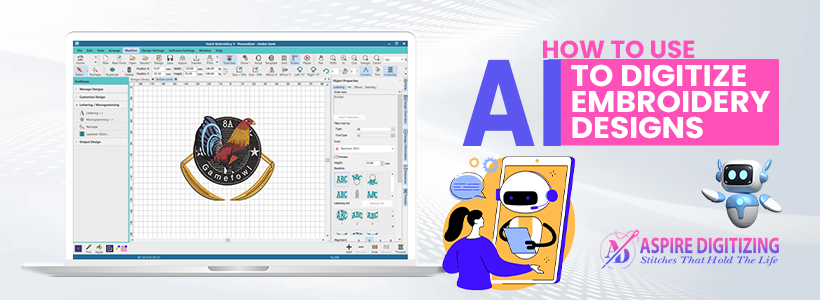
AI is revolutionizing the way embroidery designs are digitized, offering a faster and more efficient approach to converting artwork into stitch-ready files. With intelligent algorithms that select stitch types, adjust paths, and reduce manual effort, AI makes the process simpler for everyone, from hobbyists to seasoned professionals.
In this guide, you’ll learn two straightforward methods to use AI in digitizing embroidery designs, along with tips to enhance quality, avoid errors, and achieve professional results.
What Is AI-Powered Embroidery Digitizing?
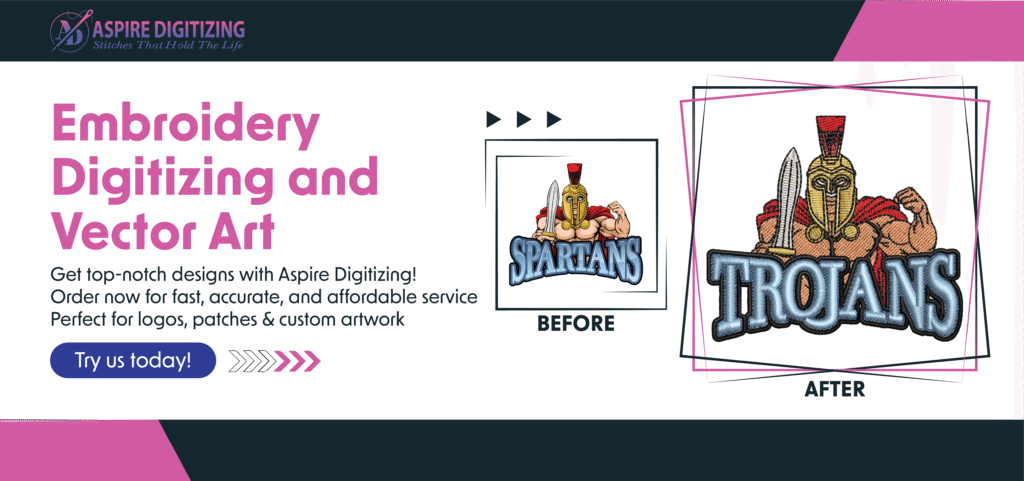
AI technology in the embroidery digitizing streamlines the transformation of digital artwork into embroidery files. By automatically detecting design elements and selecting suitable stitch techniques, AI enhances accuracy and accelerates production. This method is beneficial for complex embroidery designs that would otherwise require intensive manual digitizing. Whether you’re new to the process or experienced in the field, AI tools can significantly boost productivity and consistency.
Choosing the Best AI Software for Embroidery Designs
To get started, you need the right software. AI embroidery digitizing tools vary in features, cost, and user interface. Here’s a comparison of popular platforms to help you find the one that fits your requirements:
Tool | Features | AI-Based Features | Pricing | Ideal For |
Hatch Embroidery | Auto-digitizing, color optimization, and design sequencing | Suggests optimal stitch types and colors | ~$1,199 | Beginners to advanced users |
Wilcom Embroidery Studio | Advanced lettering, CorelDRAW integration, precision editing | Smart stitch and shape suggestions | Starts at ~$4,000 | Professional digitizers |
Brother PE-Design 11 | Design wizard, intelligent sorting, fabric-specific settings | Color sort and fabric adjustment features | Varies | Small businesses using Brother machines |
SewArt | Basic digitizing, image tracing, and stitch editing | Auto stitch conversion | Affordable | DIY users and embroidery beginners |
Key Features to Look for in AI Embroidery Software
When selecting software for digitizing embroidery designs, focus on tools that offer:
AI Stitch Optimization: Automatically chooses the most suitable stitch for each design section.
Multi-Format Export: Ensure compatibility with embroidery machine file types like DST, PES, or JEF.
Customizable Controls: Allows manual adjustment of stitch density, underlay, and pathing.
User-Friendly Interface: Easy navigation with helpful tutorials for beginners.
Color Management: Automatically detects and separates thread colors efficiently.
These features not only save time but also contribute to polished and precise embroidery designs.
Two Ways to Use AI to Digitize Embroidery Designs
You can digitize embroidery designs using AI in two distinct ways:
Automatic Digitizing
Manual Digitizing with AI Support
Let’s break down each method so you can decide which is best for your project.
Method 1: Automatic Digitizing
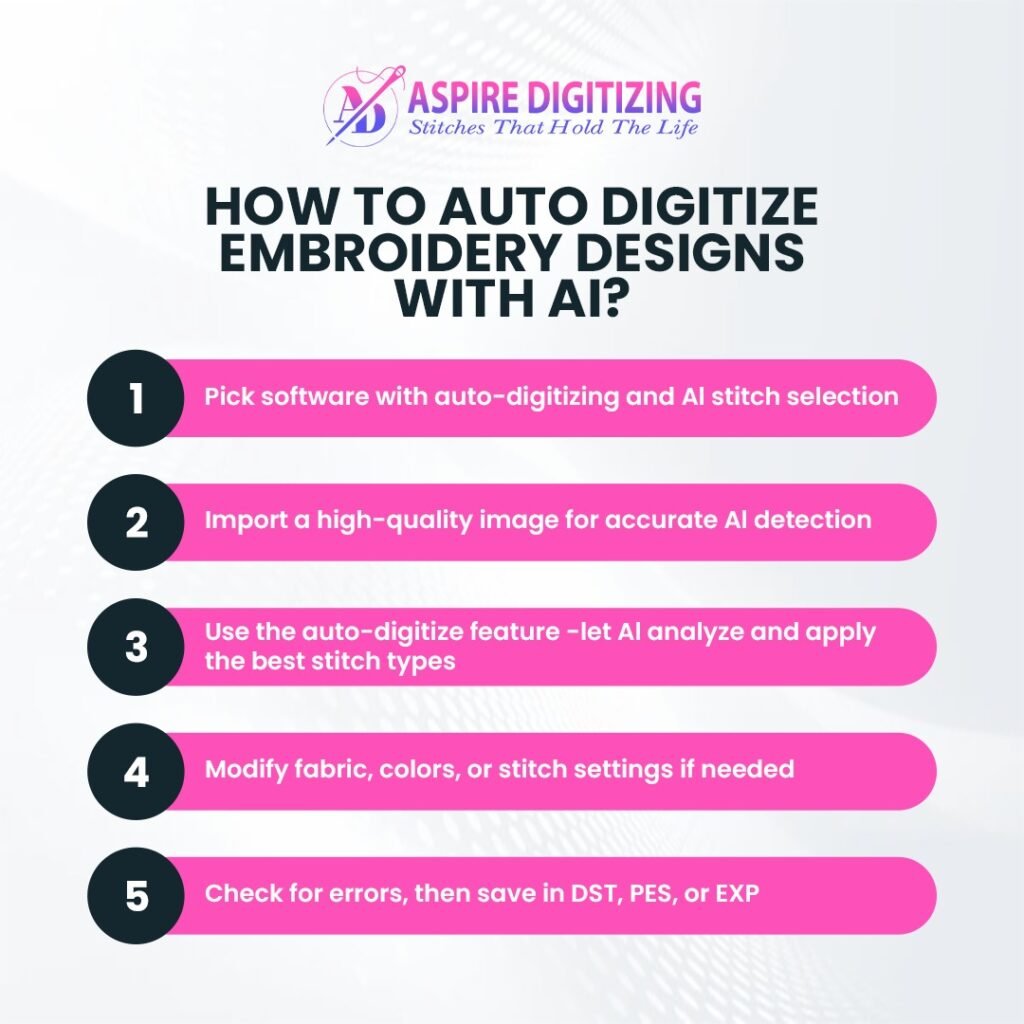
Choose AI-Enabled Software: Select a tool like Hatch or PE-Design 11 with auto-digitizing capabilities.
Upload Your Artwork: Use a high-resolution file (JPG, PNG, or SVG) for best results.
Apply Auto-Digitize Feature: Let the software detect outlines, fill patterns, and stitches.
Adjust Settings (Optional): Modify stitch density or fabric type if needed.
Preview & Save: Review the digitized version and export it in the correct format.
This approach delivers decent quality with minimal effort, perfect for beginners and quick turnaround projects.
Method 2: Manual Digitizing with AI Assistance
If you’re aiming for more precision or working on detailed embroidery designs, manual digitizing with AI support offers the flexibility you need.
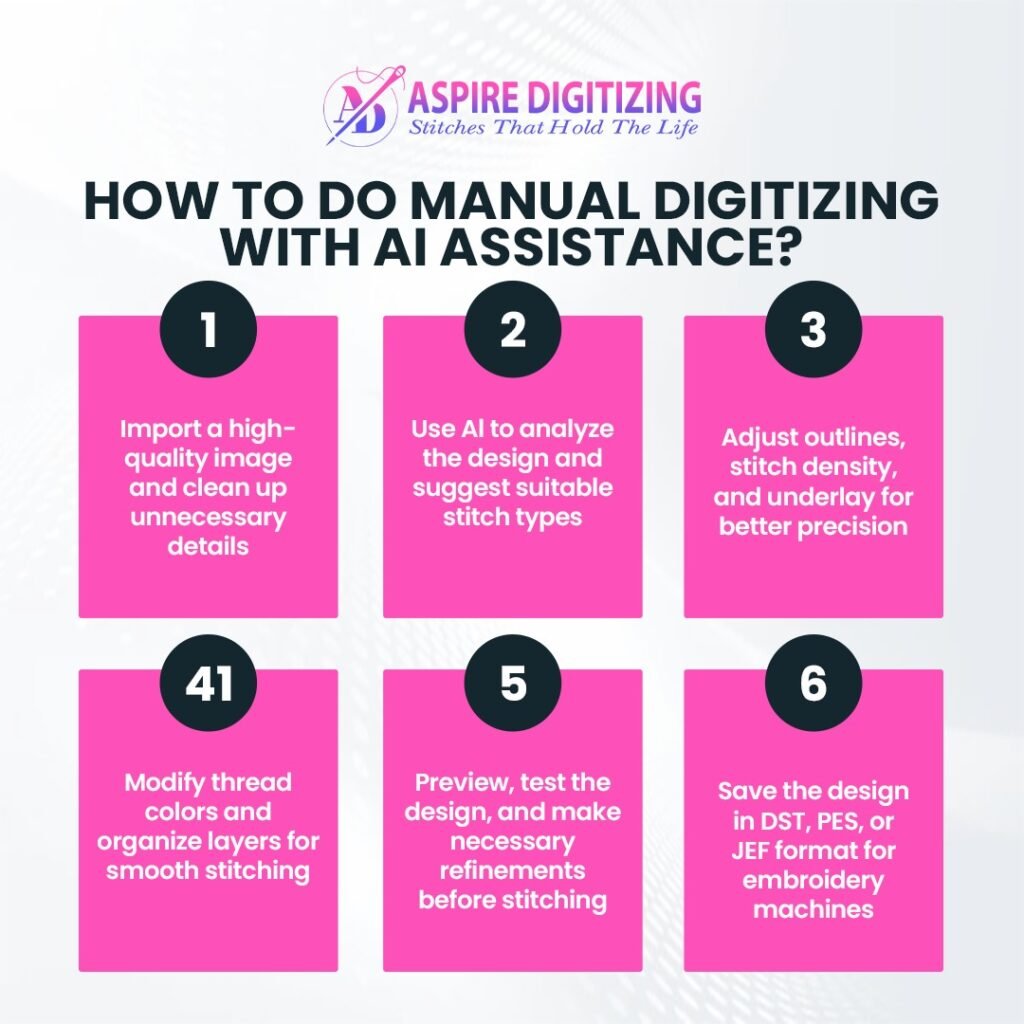
Import and Clean the Design: Use high-quality files and clean up any visual noise.
Generate AI Stitch Suggestions: Use AI to generate an initial layout for stitches.
Edit Stitch Paths Manually: Adjust outlines, stitch direction, and overlaps.
Tweak Colors and Layers: Choose thread colors and manage design layers for better organization.
Preview Before Stitching: Use simulation tools to visualize the output.
Export the File: Save it in the appropriate embroidery machine format (e.g., DST, PES).
Manual digitizing offers greater control, allowing you to fine-tune every element to match fabric type, size, and artistic intent.
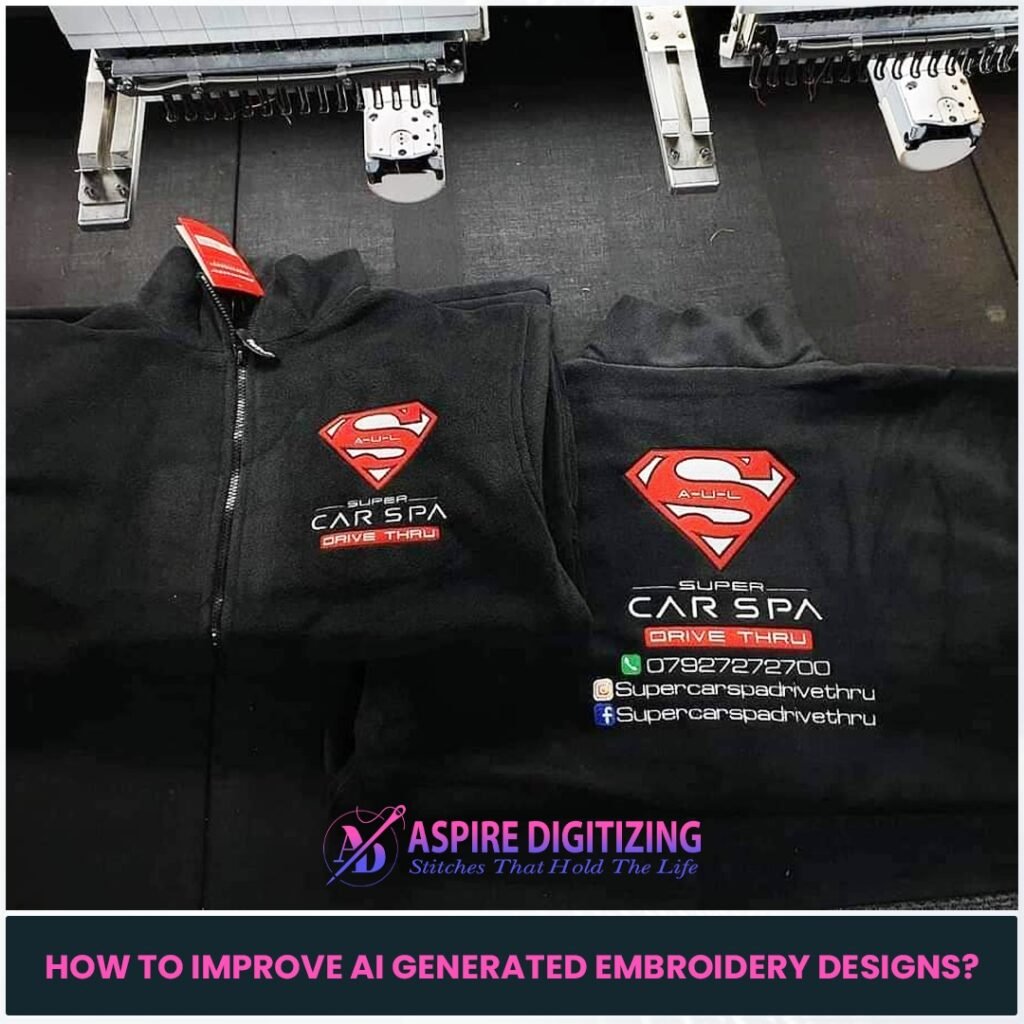
Tips to Improve AI-Generated Embroidery Designs
Want to get better results from your AI digitizing tools? These expert tips will help:
Use Clear Images: High-resolution artwork helps the AI read shapes and edges more accurately.
Adjust Stitch Density: Match the stitch density to the type of fabric being used.
Eliminate Overlaps: Manually inspect for overlapping or missing stitches.
Test the Design: Run a sample on similar material to catch errors before mass production.
Add Underlay Stitches: Supports the fabric and enhances stitch precision.
These enhancements ensure your embroidery designs not only look professional but also run smoothly during production.
Overcoming AI Limitations in Embroidery Digitizing
While AI is powerful, it’s not without limitations. Here’s how to compensate:
Manual Tweaks Are Essential: AI won’t always nail complex gradients or small details. Make refinements as needed.
Split Complex Patterns: Break up dense embroidery designs to simplify processing and stitching.
Refine Colors Manually: AI may misinterpret colors, especially in multi-shade areas.
Handle Gradients Yourself: Smooth gradient transitions often need manual adjustments for optimal results.
Keep Software Updated: Regular updates fix bugs and improve AI accuracy.
Combining AI efficiency with human expertise yields the best results.
Common Mistakes to Avoid
Avoid these frequent missteps when digitizing embroidery designs with AI:
Low-Quality Artwork: Blurry images lead to stitching errors.
Blind Trust in AI: Always review and adjust the digitized file.
Ignoring Fabric Settings: Different fabrics require different stitch settings—don’t skip this step.
Skipping Tests: Always preview and test stitch files before running full jobs.
Wrong File Format: Export in a format compatible with your embroidery machine.
Being mindful of these factors ensures higher-quality outcomes.
Should You Choose Professional Digitizing Over AI?
While AI is a powerful tool, it can fall short with intricate embroidery designs, gradients, or unique fabric conditions. That’s where professional digitizing services shine.
Skilled digitizers can:
Adjust stitch types and densities based on fabric
Optimize designs for minimal puckering and clean finishes
Deliver high-quality results consistently
If you’re working on brand-critical embroidery or highly complex designs, expert digitizing will always offer better precision and reliability than AI alone.
FAQs
How does AI help in digitizing embroidery designs?
Yes, polo shirts are ideal for embroidery. With the correct stabilizer and technique, you can create durable and clean designs.
Can AI software handle complex embroidery designs?
Add logo embroidery, patterns, or custom monograms. Pair with jeans or dress pants based on the occasion.
What is the best image format to upload for AI embroidery designs?
Use a medium-weight cutaway for most polos. For stretchier shirts, a no-show mesh stabilizer works well
Do I need manual editing after using AI for embroidery designs?
Usually cotton pique or jersey knits—soft, breathable, and perfect for embroidery.