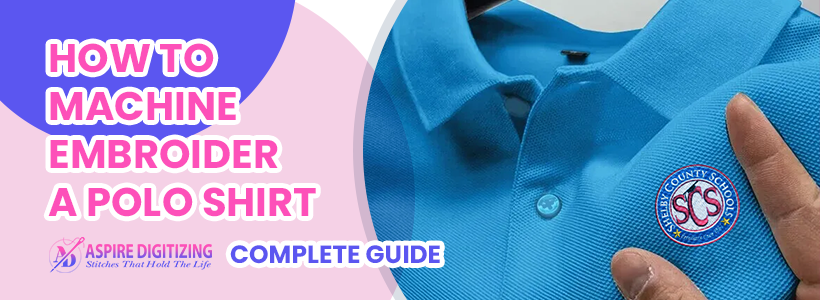
How to Machine Embroider a Polo Shirt | Complete Guide
Imagine taking a plain polo shirt and transforming it into something stylish—a sweater adorned with a custom logo embroidery that grabs attention. That’s the charm of learning how to embroider a polo shirt with your favorite design!
I still remember my first attempt. I was worried I might ruin the shirt, but with a bit of guidance, I managed to create a design that turned out beautifully. The process was easier than expected, and the outcome was something I could be proud of. Now, I’m here to walk you through the same easy process. Let’s bring your logo embroidery ideas to life!
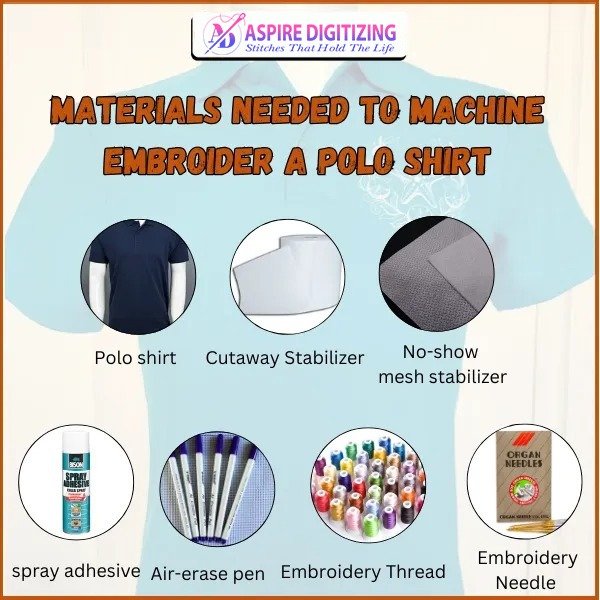
Materials Needed to Machine Embroider a Polo Shirt
To achieve professional-quality logo embroidery on polo shirts, it’s essential to start with the right tools. Here’s a list of what you’ll need:
Polo shirt
Medium-weight cutaway stabilizer
No-show mesh stabilizer
Temporary spray adhesive
Air-erase pen
Embroidery thread
Embroidery needle
Let’s explore each material and why it’s important for your logo embroidery project.
1. Polo Shirt
Choose a polo shirt made of at least 50% cotton. Cotton’s smooth surface allows for clean stitching, and its stable weave helps avoid fabric distortion during embroidery.
2. Medium-Weight Cutaway Stabilizer
This stabilizer provides firm support, prevents puckering, and maintains the shape of your logo embroidery. It strikes the perfect balance between strength and flexibility.
4. Temporary Spray Adhesive
Helps hold your stabilizer and polo shirt in place during stitching. Use a fabric-safe spray to ensure everything stays secure without damaging the fabric.
5. Air-Erase Pen
Useful for marking your design’s placement. These pens leave temporary marks that disappear over time or can be wiped away with water.
6. Embroidery Thread (40 Weight and 60 Weight)
Use 40-weight thread for standard designs and 60-weight for finer details. High-quality polyester or rayon threads provide your logo embroidery with a vibrant, professional appearance.
7. Embroidery Needle (Size 75/11 or Ballpoint Needle)
For most polo fabrics, a 75/11 needle works well. If you’re working with knits, a ballpoint needle helps prevent snags and ensures smooth stitching.
Machine Embroider a Polo Shirt: Step-by-Step Process
Adding logo embroidery to polo shirts adds personality and professionalism. Follow this step-by-step guide for clean, high-quality results.
Step 1: Prepare the Polo Shirt
Pre-Wash: Wash to remove any residue and prevent shrinking later.
Iron: Ensure a flat surface for better stitch accuracy.
Inspect: Check for fabric flaws or loose threads before starting.
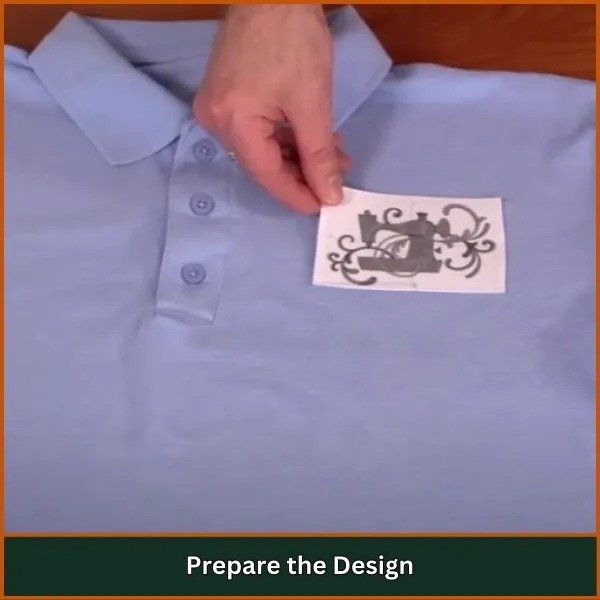
Step 2: Prepare the Design
Select Design: Pick a logo embroidery pattern that complements the shirt.
Measure Placement: Determine where to place the design—typically the left chest area.
Digitize the Design: Convert the design into a machine-compatible format.
Test Stitch: Test on a scrap fabric to ensure everything looks right.
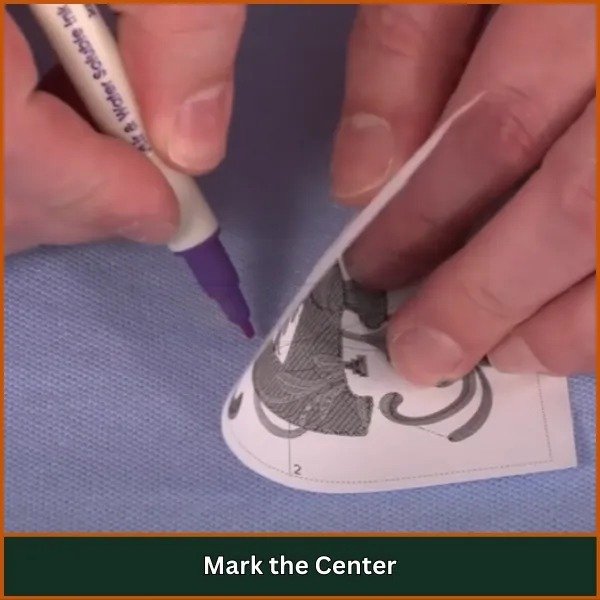
Step 3: Mark the Center
Fold Vertically: To locate the center point.
Mark: Use an air-erase pen to mark the center.
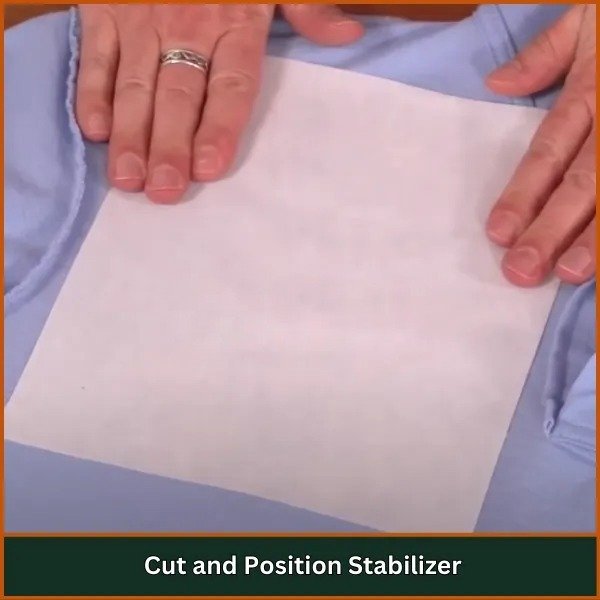
Step 4: Cut & Position Stabilizer
Choose Type: Cutaway for structure, or no-show mesh for delicate polos.
Cut Size: Slightly larger than your hoop.
Align: Place it under the shirt, centered properly.
Spray Adhesive: Lightly spray to keep it in place.
Step 5: Hoop the Polo Shirt
Lay Flat: Smooth fabric over stabilizer.
Secure in Hoop: Keep it taut, but avoid stretching.
Align Marks: Ensure the design aligns with the hoop center.
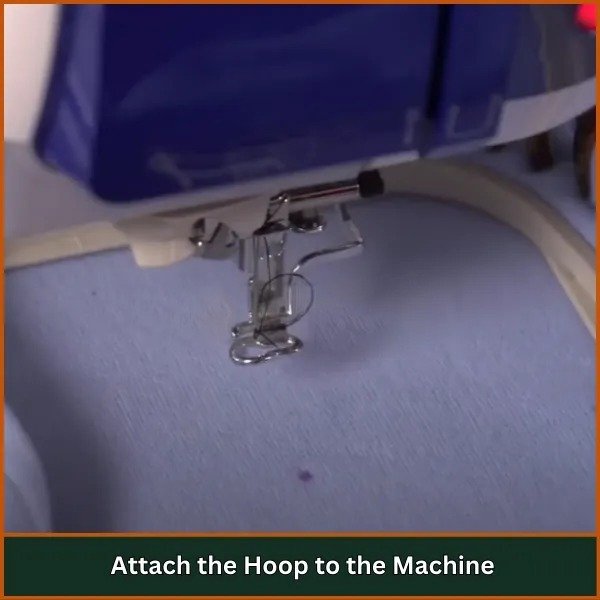
Step 6: Attach the Hoop to the Machine
Position Under Presser Foot: Carefully place the hoop.
Check Fabric: Ensure no part is folded underneath.
Lock In Place: Secure the hoop properly.
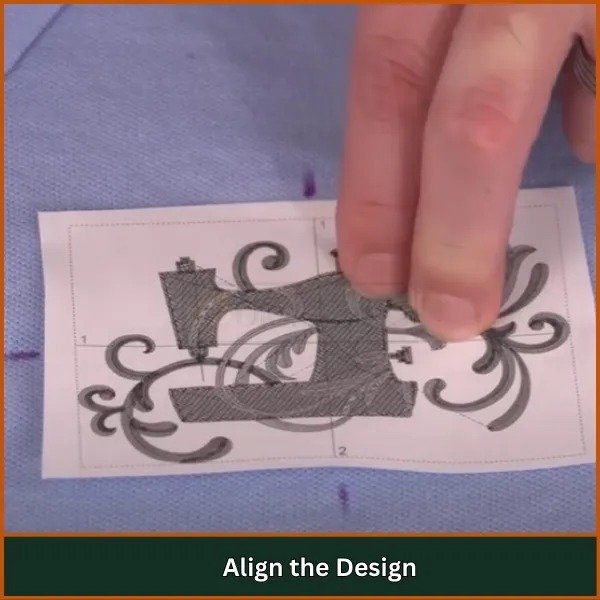
Step 7: Align the Design
Load Design: Use USB or memory to access your file.
Adjust Needle: Position it at the marked center.
Preview Placement: Use your machine’s preview to verify.
Step 8: Thread the Machine
Load Thread: Follow the threading path carefully.
Use Correct Needle: Choose the right needle for the fabric type.
Tension Settings: Adjust tension as needed for clean stitching.
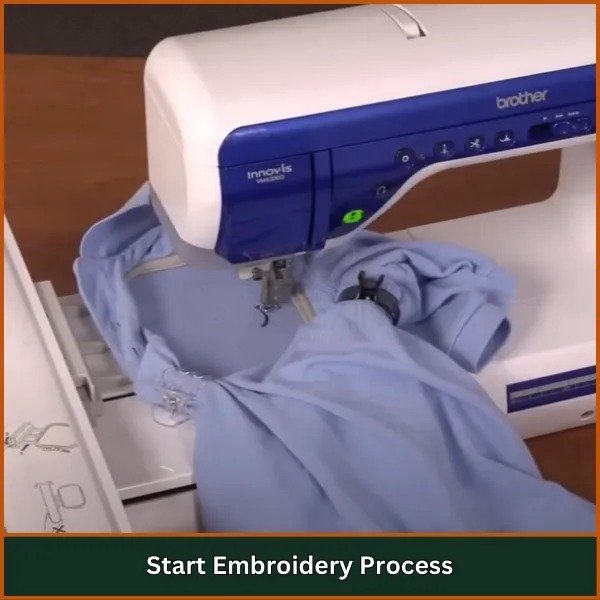
Step 9: Start Embroidery
Begin Stitching: Start your logo embroidery and watch for issues.
Pause if Needed: If the thread breaks or errors occur, pause and correct.
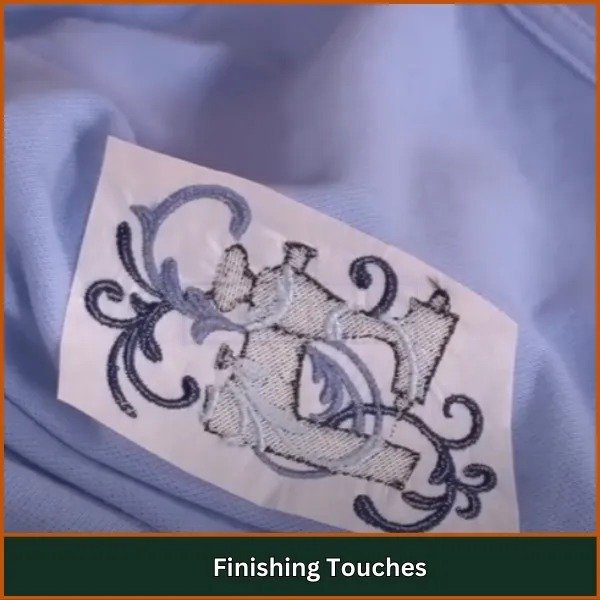
Step 10: Finishing Touches
Remove Hoop: Gently take off the hoop after stitching.
Trim Stabilizer: Use embroidery scissors to trim excess.
Cut Jump Stitches: Clean up for a polished look.
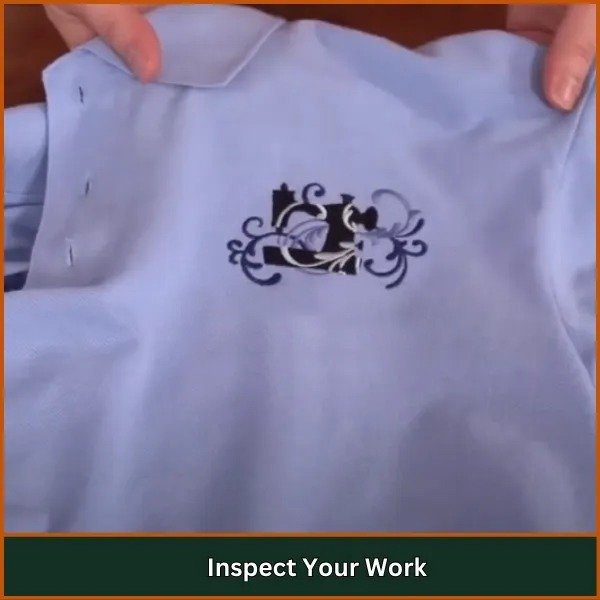
Step 11: Inspect Final Design
Check Quality: Look for skipped stitches or loose threads.
Final Ironing: Use a pressing cloth to gently press the shirt.
With practice, your logo embroidery on polo shirts will turn out professional and perfect for gifts, branding, or personal style.
Tips for Better Polo Shirt Embroidery
Here are a few extra pointers to master logo embroidery on polo shirts:
Use a hoop station for consistent placement.
Avoid dense designs on lightweight polos—they can cause puckering.
Use a no-show mesh stabilizer for stretchy polos.
Reduce stitch density for thin or delicate fabric.
Always preview the design before stitching.
Use a thread net to prevent tangling.
Add a basting stitch to keep everything stable.
Layer stabilizers for large or complex designs.
Conclusion
Logo embroidery on a polo shirt is an easy way to create custom, high-end apparel. With the right steps, tools, and a bit of patience, anyone can do it!
Need professional help with digitizing your logo for embroidery? Aspire Digitizing offers premium-quality logo digitizing services at affordable rates, fast turnaround times and a satisfaction guarantee.
Try Aspire Digitizing today and get 50% off your first order! Click here to order now!
FAQs
Can you embroider on polo shirts?
Yes, polo shirts are ideal for embroidery. With the correct stabilizer and technique, you can create durable and clean designs.
How can I style my polo shirt?
Add logo embroidery, patterns, or custom monograms. Pair with jeans or dress pants based on the occasion.
What stabilizer should I use on polo shirts?
Use a medium-weight cutaway for most polos. For stretchier shirts, a no-show mesh stabilizer works well
What fabric are polo shirts made from?
Usually cotton pique or jersey knits—soft, breathable, and perfect for embroidery.