If you’re diving into the world of hat embroidery digitizing, you’ve come to the right place! Whether you’re a seasoned pro or just starting, it’s essential to understand that digitizing for hats is vastly different from working with flat items like shirts, jackets, or bags. Hats are not only curved and structured but also have limited space for embroidery. This makes the process more challenging, and if done improperly, it can lead to unsightly results. Many beginners mistakenly apply the same digitizing techniques they use for other embroidery projects to hats, but this often results in poor-quality stitching.
When it comes to hat embroidery digitizing, success relies on a deep understanding of several factors, such as design placement, machine setup, fabric behavior, and how to prepare your files for a seamless process. Let’s explore everything you need to know before you start, covering the 7 most crucial elements that will set you up for success in hat embroidery digitizing.
Here are the 7 key points we’ll go over in detail:
Understanding Hat Curves and Design Placement
Selecting the Right Embroidery Machine and Hoops
Choosing the Right Stitch Density for Hats
Digitizing for Different Hat Fabrics and Materials
Managing Design Size and Resolution
Test Stitching and Adjusting for Fit
Saving and Exporting Embroidery Files Correctly
Understanding these core concepts will help you avoid common mistakes and digitize your next cap design like a pro. Let’s break it down step by step.
1. Understanding Hat Curves and Design Placement
One of the first things you need to know about hat embroidery digitizing is that hats come in a variety of shapes and sizes, and these shapes will influence where and how you place your design. Because hats have different front structures and a limited embroidery area, getting the design placement right is key. Hat embroidery digitizing requires special care because the embroidery surface is small, often asymmetrical, and includes features like seams and curves that may distort the final design.
In hat embroidery digitizing, it’s important to consider the following structural factors:
The center seam: Many hats, such as baseball caps, have a central seam that divides the front panel. Your design should be placed with this seam in mind to avoid distortion during stitching.
Crown height: The height of the hat’s crown affects how much space is available for your design, especially on structured caps.
Hat curvature: Since hats curve around your head, it’s essential to account for the way the design will sit when worn.
The most common hat types and their design placement tips are:
Structured Baseball Cap: These have a firm, curved front, so it’s best to place the design just below the center seam for even coverage.
Trucker Cap: With a slightly flat foam front, avoid stitching too close to the top corners, as it may distort the design.
5-Panel Hat: These hats have a flatter surface, allowing for more accurate design placement.
Beanie: The stretchy and curved fabric makes it ideal to position the design at mid or lower front for better visibility.
Unstructured Dad Hat: Soft and collapsible fronts require centering the design lower than usual for proper stitching.
A common mistake made by beginners in hat embroidery digitizing is positioning the design too high, too close to seams, or too close to the brim. To avoid distortion, always slightly shift your design downward and ensure it remains centered.
2. Selecting the Right Embroidery Machine and Hoops
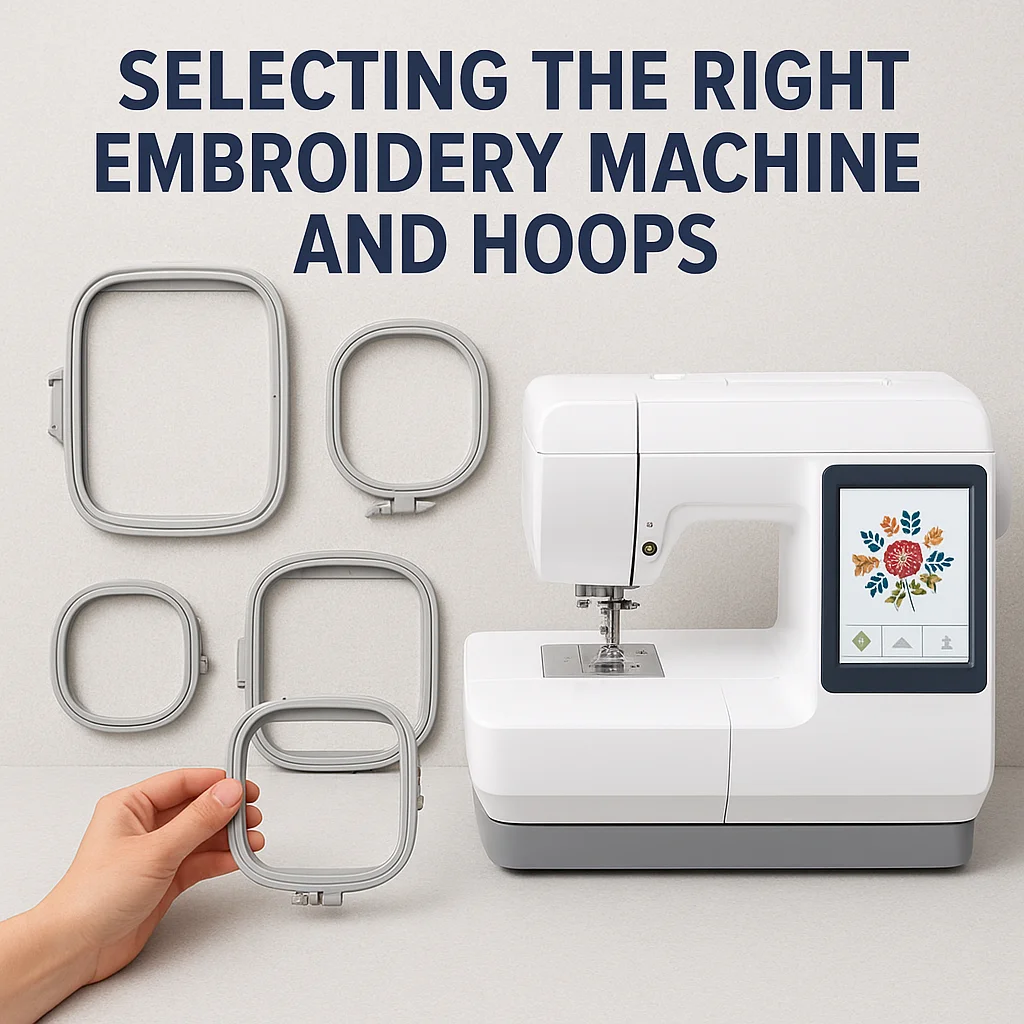
The machine you choose for hat embroidery digitizing plays a huge role in ensuring quality results. Not all embroidery machines are equipped to handle the unique requirements of curved surfaces like hats. If you’re serious about digitizing hats, it’s worth investing in a machine that’s specially designed to tackle these challenges. Models like the Brother PR1055X and Ricoma EM-1010 are highly recommended, especially if you plan to embroider hats regularly. These machines have features that make hat embroidery digitizing more efficient:
Multi-needle capability for quick automatic color changes.
Specialized cap frames that hold hats in place securely during stitching.
Adjustable tension settings to handle thicker materials such as foam or denim.
Screen preview for precise design placement before stitching begins.
In addition to selecting the right machine, you’ll need the correct hoop for each type of hat. Different hoops are designed to match specific hat structures, ensuring even and secure tension:
Structured Baseball Cap: Use a curved, wide cap frame that matches the curvature of the hat, ensuring a tight grip and accurate stitching.
Trucker Hat: Opt for an extra-wide curved cap frame to hold the foam front securely and prevent shifting.
Beanie: A small cylindrical or flat hoop works best to keep the stretchy fabric in place without distortion.
5-Panel Hat: A flat cap frame is ideal for the flat surface of this type of hat.
Choosing the wrong hoop in hat embroidery digitizing can result in misaligned designs and fabric shifting, so it’s essential to choose the correct one for the job.
3. Choosing the Right Stitch Density for Hats
In hat embroidery digitizing, stitch density refers to how close together the individual stitches are placed. Proper stitch density ensures that your design is visually appealing, durable, and appropriate for the fabric you’re working with. If your stitches are too dense, the fabric might pucker or even tear. If your stitches are too loose, your design may look incomplete or weak.
The key to successful hat embroidery digitizing lies in matching the stitch density to both the design size and the material of the hat. Here’s a simple guide:
Small Text (4mm–6mm): Use a stitch density of 0.40mm–0.45mm to avoid overlapping stitches.
Medium Elements (7mm–12mm): A density of 0.35mm–0.40mm is ideal for clean coverage.
Large Shapes (13mm and above): For these, use a tighter density of 0.30mm–0.35mm to fill without leaving gaps.
Background Fill or Knockdown Stitch: A density of 0.50mm–0.60mm will flatten the underlying fabric before the main design is stitched.
If you’re working with thicker fabrics, such as foam or canvas, you may need to increase pull compensation slightly. Always run a test stitch to ensure the design holds up well before starting full production.
4. Digitizing for Different Hat Fabrics and Materials
When it comes to hat embroidery digitizing, the fabric type plays a significant role in how your design should be digitized. Each material behaves differently, and it’s essential to adjust your digitizing strategy accordingly. Here’s a breakdown of common hat fabrics and tips for hat embroidery digitizing:
Cotton Twill: A popular material for caps due to its stability. Use medium-density fills and a firm underlay to ensure smooth stitching.
Foam-Front Trucker Caps: The foam makes these caps soft and raised. Use lower-density stitching with a knockdown stitch to flatten the foam before applying the main design.
Canvas/Denim Caps: These thicker fabrics require stronger needles and high-density stitches. A firm underlay is also necessary to support the top stitching.
Mesh-Back Caps: Stick to digitizing only for the front panel, as the mesh won’t hold stitches properly.
Beanies: For stretchy fabrics, use ballpoint needles and low-density fill to avoid puckering. Open fill patterns work best for these materials.
Make sure to select the correct fabric type in your embroidery software. This will automatically adjust the stitch density and tension settings to match the fabric, making hat embroidery digitizing more efficient.
5. Managing Design Size and Resolution
Since hats have limited space, hat embroidery digitizing requires careful attention to the design size. Too large or detailed a design will not stitch cleanly on the limited surface area. Here’s a general guide:
Structured Baseball Cap: Max height of 2.25”–2.5”, max width of 4.5”–5”. Stick to bold fonts and simple logos for better visibility.
Trucker Cap: Max height of 2.5”–2.75”, max width of 5”. Use light details and open fill to reduce tension.
5-Panel Hat: Max height of 2.75”, max width of 5.5”. Ideal for logos with detail or wide text.
Beanie: Max height of 1.5”–2”, max width of 3”–4”. Focus on small icons or simple text.
For hat embroidery digitizing, always adjust your design size to fit within these parameters. Overly complex designs can look muddled when embroidered on a hat’s small area.
6. Test Stitching and Adjusting for Fit
Before finalizing your design, always test it on an actual hat. This is an essential step in hat embroidery digitizing. Check the following:
Is the design centered correctly?
Are there any gaps, thread breaks, or misalignments?
Does the design conform well to the seams and curves of the hat?
Is the fabric pulling or wrinkling?
If something looks off, go back to your hat embroidery digitizing file and make the necessary adjustments. It could be as simple as changing the underlay or increasing the pull compensation to fix any issues.
7. Saving and Exporting Embroidery Files Correctly
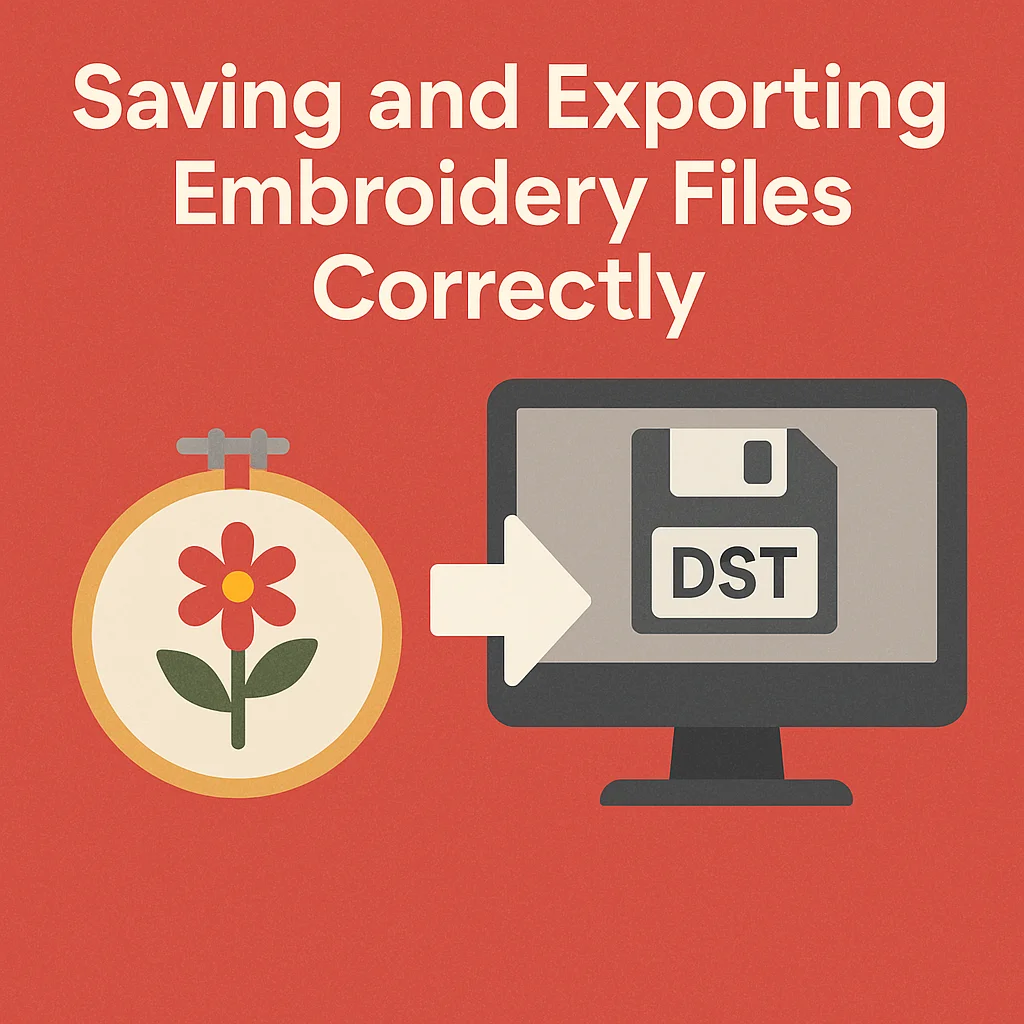
Finally, once your hat embroidery digitizing is complete, save your design in the correct file format (.DST, .PES, .EXP, etc.) for your embroidery machine. Incorrect file formats can lead to errors or misalignment during stitching. Always double-check the stitch path, color sequences, and trim commands.
Clean jump stitches and optimized starting and ending points are key to smooth machine operation.
Conclusion
By understanding the essentials of hat embroidery digitizing, from hat types to choosing the right stitch density, fabric considerations, and file exporting, you can avoid common mistakes and produce high-quality embroidery. Whether you’re a beginner or experienced in embroidery, mastering these concepts will set you up for success.
If you’d prefer to skip the trial and error or don’t have the time to learn the ropes of hat embroidery digitizing, Aspire Digitizing is here to help. Our expert team specializes in hat embroidery digitizing, providing you with clean, professionally digitized designs, high-quality results, fast turnaround times, and 24/7 customer support. We also offer 50% off your first order to help you get started with ease!
Contact Aspire Digitizing today and let us handle all your hat embroidery digitizing needs while you focus on designing great-looking embroidered caps.
FAQs
What is cap embroidery?
Cap embroidery refers to the process of stitching logos or designs onto hats using an embroidery machine. Due to the hat’s curved and structured surface, it requires special digitizing techniques.
Is embroidery digitizing difficult?
It can be challenging at first, especially for curved surfaces like hats, but with practice and the right software, it becomes easier. Many beginners choose professional services like Aspire Digitizing to get started.
Is embroidering hats profitable?
Yes, it’s highly profitable. Custom caps are in great demand for brands, teams, and events, offering excellent margins even on small orders.
How to digitize for cap embroidery?
Digitizing for cap embroidery involves a few key techniques:
Always begin stitching from the center of the design and work outward.
Use proper pull compensation to avoid distortion.
Apply knockdown stitching for foam-front caps.
Simplify the design to fit within the limited embroidery space.
Test stitch on a sample cap to make necessary adjustments.
Save the design in the appropriate format supported by your machine.