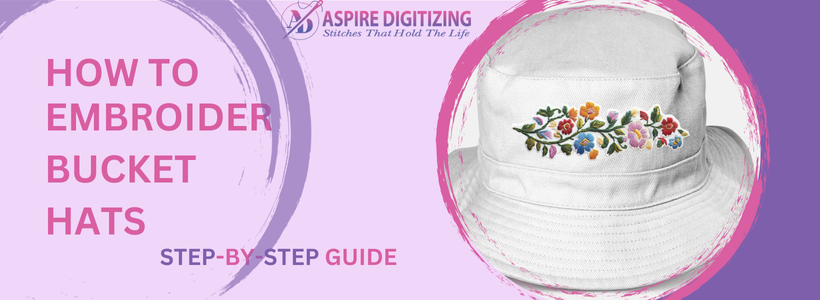
Bucket hat embroidery digitizing is a fantastic way to personalize and style your headwear. If you’re looking to learn the art of embroidery on bucket hats, this step-by-step guide will walk you through the entire process—from preparation to stitching a perfect design. Though their shape may pose a few challenges, following the right steps can help you create a professional and stylish look.
Whether you’re creating one for yourself or as a thoughtful gift, bucket hat embroidery digitizing makes the project easier, ensuring a polished and professional finish. Custom bucket hat embroidery is a fun and rewarding DIY project. Let’s get started!
What Is a Bucket Hat?
A bucket hat is a soft, round hat with a downward-sloping brim, resembling the shape of a bucket. Traditionally made from sturdy materials like cotton canvas, denim, or twill, these hats were originally used by fishermen and outdoor workers for sun and rain protection. Today, they’ve become a trendy fashion accessory and are available in various colors and styles—making them the perfect canvas for embroidery. With the right bucket hat embroidery digitizing, you can easily transform them into personalized fashion statements.
What Materials Are Needed for Bucket Hat Embroidery?
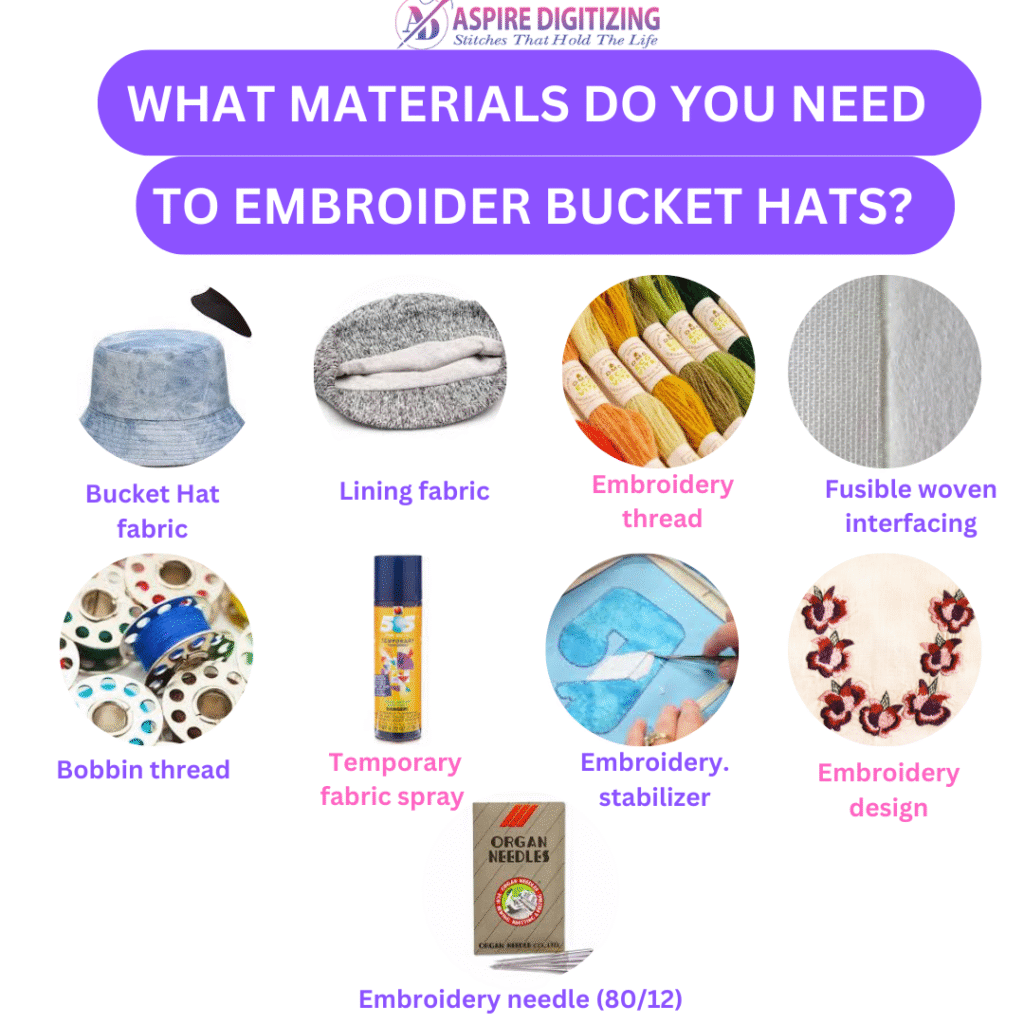
To create beautiful bucket hat embroidery digitizing results, you’ll need the following tools and materials
Bucket hat (cotton, denim, canvas)
Lining fabric
Fusible woven interfacing
Embroidery stabilizer (tear-away or cut-away)
Embroidery thread (polyester recommended)
Bobbin thread
Temporary fabric adhesive spray
Embroidery needle (size 80/12)
Embroidery design (properly digitized)
1. Bucket Hat Fabric
Choose a durable yet breathable material like cotton canvas or denim for structure and a clean stitch. Quilting cotton also works well if you prefer a softer feel—especially when paired with bucket hat embroidery digitizing for neat results.
2. Lining Fabric
The lining adds comfort and affects how the hat fits. Cotton is ideal for breathability, while satin provides a sleek look. For colder climates, fleece lining can add warmth.
3. Fusible Interfacing
This adds firmness, especially to the brim, and helps your hat hold its shape after embroidery.
4. Embroidery Stabilizer
Use a cut-away stabilizer for stability, especially for dense designs. Tear-away works for lighter patterns but may not provide long-term support.
5. Embroidery Thread
Go with polyester thread for durability and vibrant color. It’s perfect for outdoor wear and frequent washing.
6. Bobbin Thread
Use a fine, strong bobbin thread (60 wt) to avoid bulky stitches underneath your design.
7. Fabric Adhesive Spray
This temporary adhesive helps hold the fabric and stabilizer together during embroidery without leaving permanent residue.
8. Embroidery Needle
A size 80/12 needle works best with thicker materials and prevents breakage during stitching.
9. Embroidery Design
Select or design a layout that fits within the crown area. Make sure it’s properly digitized, as bucket hat embroidery digitizing ensures smooth stitching and clean results.
Need a design digitized? Aspire Digitizing offers fast, affordable bucket hat embroidery digitizing services with guaranteed quality results.A size 80/12 needle works best with thicker materials and prevents breakage during stitching.
Step-by-Step Guide to Bucket Hat Embroidery
Step 1: Prepare Your Design
Choose or create a digitized embroidery design tailored for bucket hats. Using bucket hat embroidery digitizing software ensures that the design is optimized for small curved surfaces.
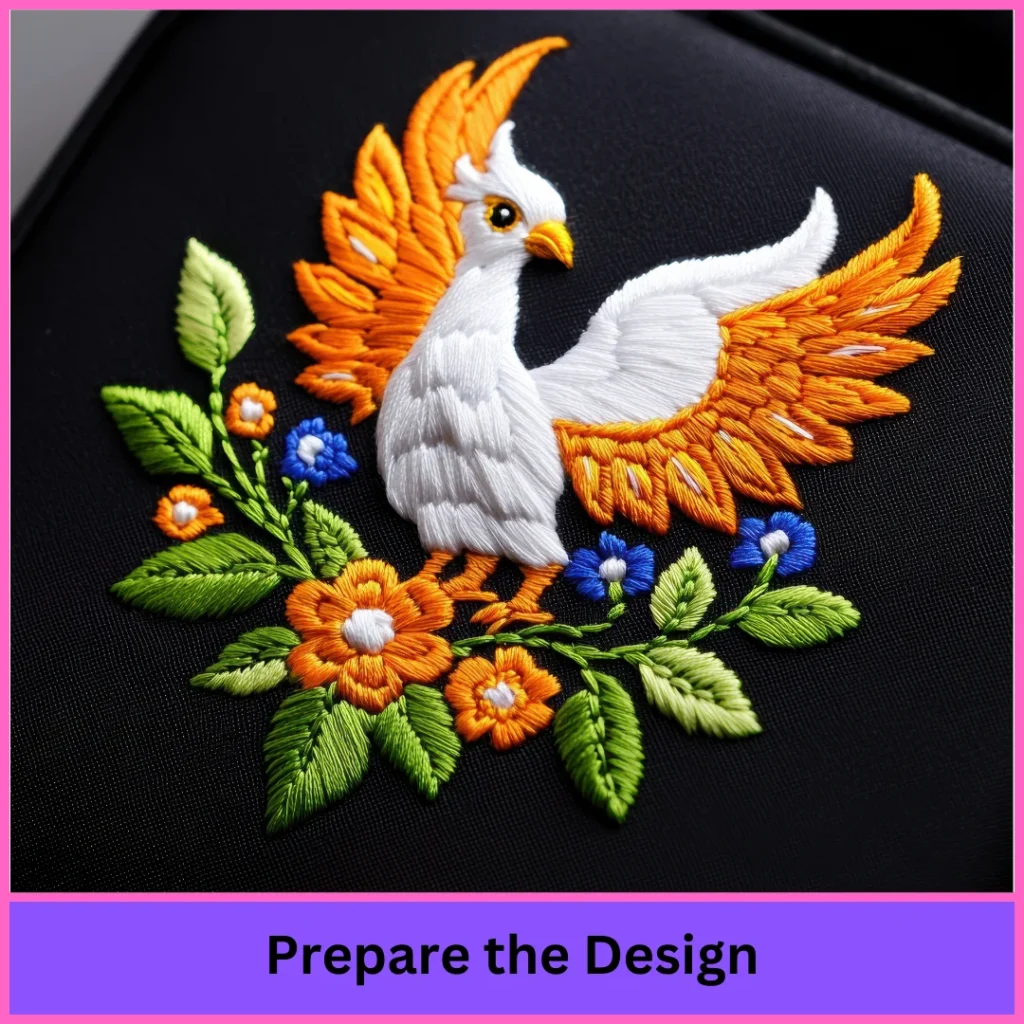
Ensure the design fits within 2.5″ H x 4″ W for best results.
Save the file in your machine’s required format (e.g., DST, PES).
Step 2: Position the Hat
Flatten the area you plan to embroider.
Mark the center of your design using chalk or a washable pen.
Apply stabilizer underneath the marked area.
Step 3: Hooping the Hat
Use a cap frame or standard hoop depending on your equipment.
Keep the fabric taut but not stretched.
Secure the hoop firmly to prevent movement during stitching.
Step 4: Machine Setup
Load the design file.
Select the appropriate thread colors.
Mount the hooped hat to your embroidery machine.
Step 5: Test the Design
Stitch the design on a scrap piece of fabric first. Bucket hat embroidery digitizing ensures you’ll catch potential issues before sewing on the final hat.
Step 6: Start Embroidering
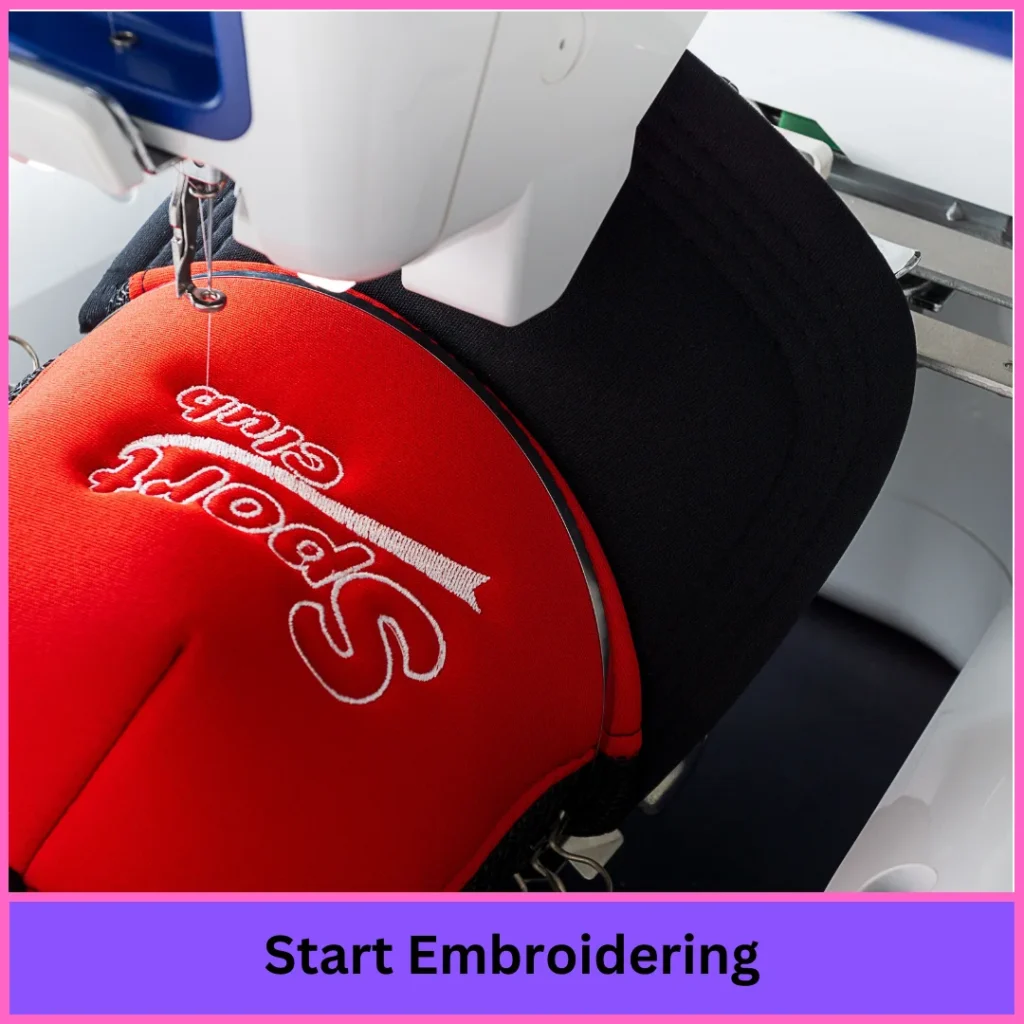
Begin stitching and closely monitor the machine.
Watch for thread breaks, misalignment, or tension issues.
Step 7: Finishing Up
Remove the hoop once stitching is complete.
Trim the excess stabilizer.
Press lightly with an iron and pressing cloth to set the design.
Common Problems and Fixes in Bucket Hat Embroidery
Limited Design Space
Problem: Small embroidery area on the hat.
Solution: Stick to compact designs within the 2.5” x 4” limit and choose placement carefully. With bucket hat embroidery digitizing, designs can be resized without losing quality.
Greasy Brim
Problem: Machine oil stains the hat.
Solution: Keep your embroidery machine clean and wipe it down before use.
Puckering Fabric
Problem: Uneven stitches due to fabric pulling.
Solution: Use a sturdy stabilizer and secure the fabric properly in the hoop. Good bucket hat embroidery digitizing minimizes pull compensation issues.
Misaligned Designs
Problem: Off-center or crooked embroidery.
Solution: Mark the center with tape or chalk to guide alignment.
Caught Fabric
Problem: Sweatband or loose fabric caught during stitching.
Solution: Pin or clip extra fabric out of the way and monitor the machine.
Thread Breakage
Problem: Frequent thread snaps.
Solution: Use a high-quality needle and thread, and match machine settings to your materials. Proper bucket hat embroidery digitizing also helps reduce stress on the thread.
Final Thoughts
Bucket hat embroidery digitizing makes embroidery on curved and compact surfaces easier, allowing you to achieve professional-quality results at home. With the right tools and careful technique, you can transform a plain bucket hat into a stylish piece of custom headwear.
If you need help digitizing your design for embroidery, Aspire Digitizing offers top-quality bucket hat embroidery digitizing services at affordable rates. First-time customers receive 50% off, and you’ll get a preview before final delivery. Let Aspire Digitizing help you achieve perfect results, so you can focus on creating eye-catching embroidered bucket hats.
FAQs
What Tools Do I Need for Bucket Hat Embroidery?
You’ll need an embroidery machine, stabilizer, embroidery thread, bobbin thread, temporary spray adhesive, embroidery needle, and a hoop or clamp suited for hat embroidery.
How Do I Embroider a Curved Surface Like a Bucket Hat?
Use stabilizer and secure the fabric flat in the hoop. Fold away the sweatband and smooth out any wrinkles to provide a stable embroidery area.
What Design Size Is Best for Bucket Hats?
Stick to smaller, simple designs under 2.5″ in height and 4″ in width for optimal placement and clarity.