Framing embroidery in a hoop is a creative and elegant way to showcase your work. It keeps your fabric taut and transforms your stitching into a decorative piece ready to hang or gift.
Whether you’re an experienced stitcher or just starting, using an embroidery hoop for framing is a straightforward technique that adds charm and professionalism to your art.
This guide will walk you through the process step by step—from preparing your materials to securing the final piece—so you can proudly display your embroidered masterpiece.
Types of Embroidery Hoops Used for Framing
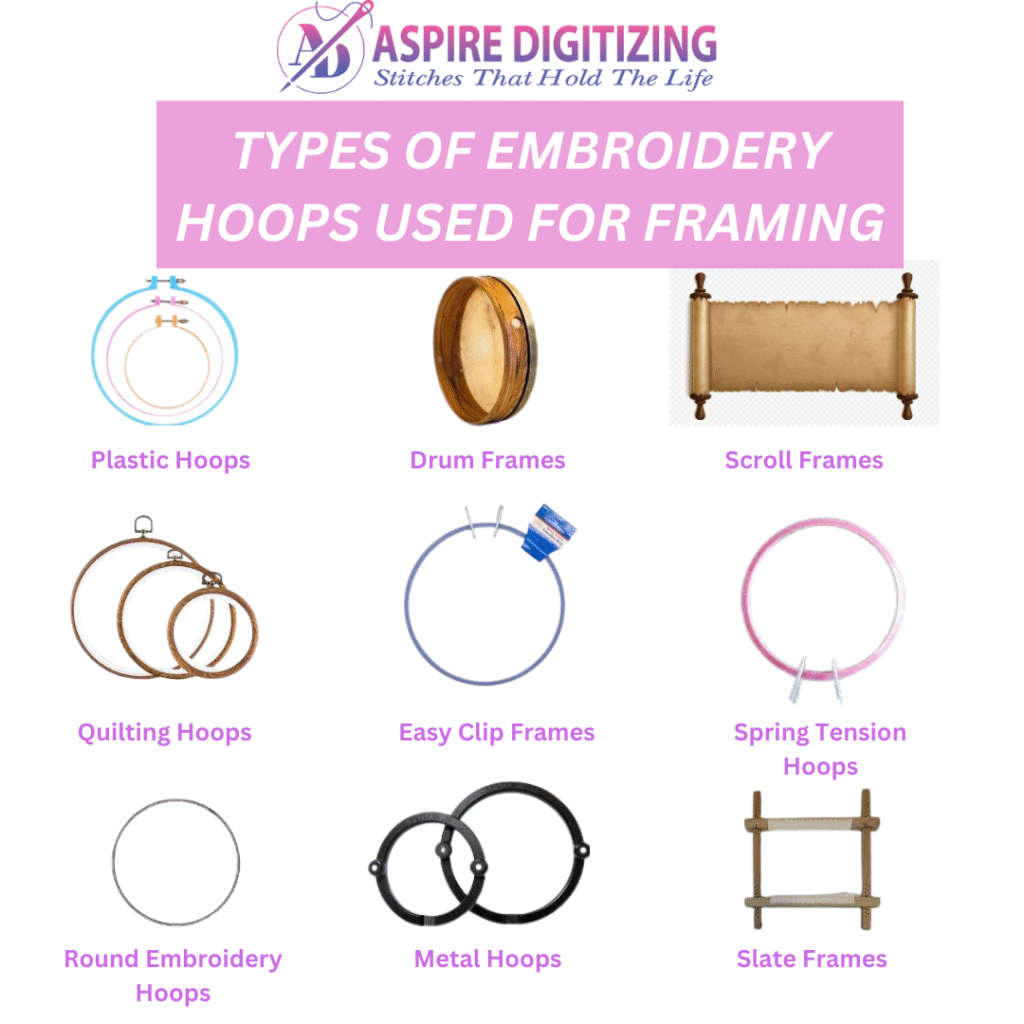
Choosing the right embroidery hoop plays a key role in framing embroidery in a hoop. It ensures your fabric remains taut and that the presentation is clean and attractive. There are various styles and sizes to fit every type of project:
Round Embroidery Hoops
Quilting Hoops
Spring Tension Hoops
Easy Clip Frames
Slate Frames
Plastic Hoops
Metal Hoops
Scroll Frames
Tambour Frames
1. Round Embroidery Hoops
These are the most widely used embroidery hoops, perfect for cross-stitch and general embroidery. They come in sizes ranging from 3 to 12 inches and are made of wood or plastic.
2. Quilting Hoops
Larger and more durable, these embroidery hoops are ideal for heavy fabrics and large projects. Their strong grip helps maintain fabric tension during detailed work.
3. Spring Tension Hoops
These feature a metal inner ring and a plastic outer ring. The spring mechanism helps adjust and secure the fabric quickly—perfect for beginners and quick tasks.
4. Easy Clip Frames
Using clips for holding the fabric, these embroidery hoops allow fast and easy adjustments, making them beginner-friendly.
5. Slate Frames
Used for bigger projects like canvas work, these rectangular frames hold your fabric completely flat.
6. Plastic Hoops
Colorful and lightweight, plastic embroidery hoops are inexpensive and available in various sizes. However, they may not be as durable as wooden or metal alternatives.
7. Metal Hoops
Sturdy and resistant to warping, metal embroidery hoops offer longevity and are great for long-term framing.
8. Scroll Frames
Designed for large projects, scroll frames keep the entire fabric area visible and are adjustable for fabric tension.
9. Tambour Frames
Smaller than scroll frames, these allow two-handed stitching and come with a tightening feature to maintain fabric tension.
Materials Needed for Framing Embroidery in a Hoop

To begin framing embroidery in a hoop, you’ll need the following supplies:
Embroidery Hoop
Backing Fabric (e.g., Felt or Cotton)
Strong Thread (such as embroidery floss)
Sharp Needle
Embroidery or Fabric Scissors
Pencil or Chalk Marker
Optional: Picture Frame, Foam Board, Decorative Accessories
How to Frame Embroidery in a Hoop
Begin by pressing your embroidered piece and backing fabric. A wrinkle-free surface helps achieve a clean final look.
Step 1: Iron the Fabric
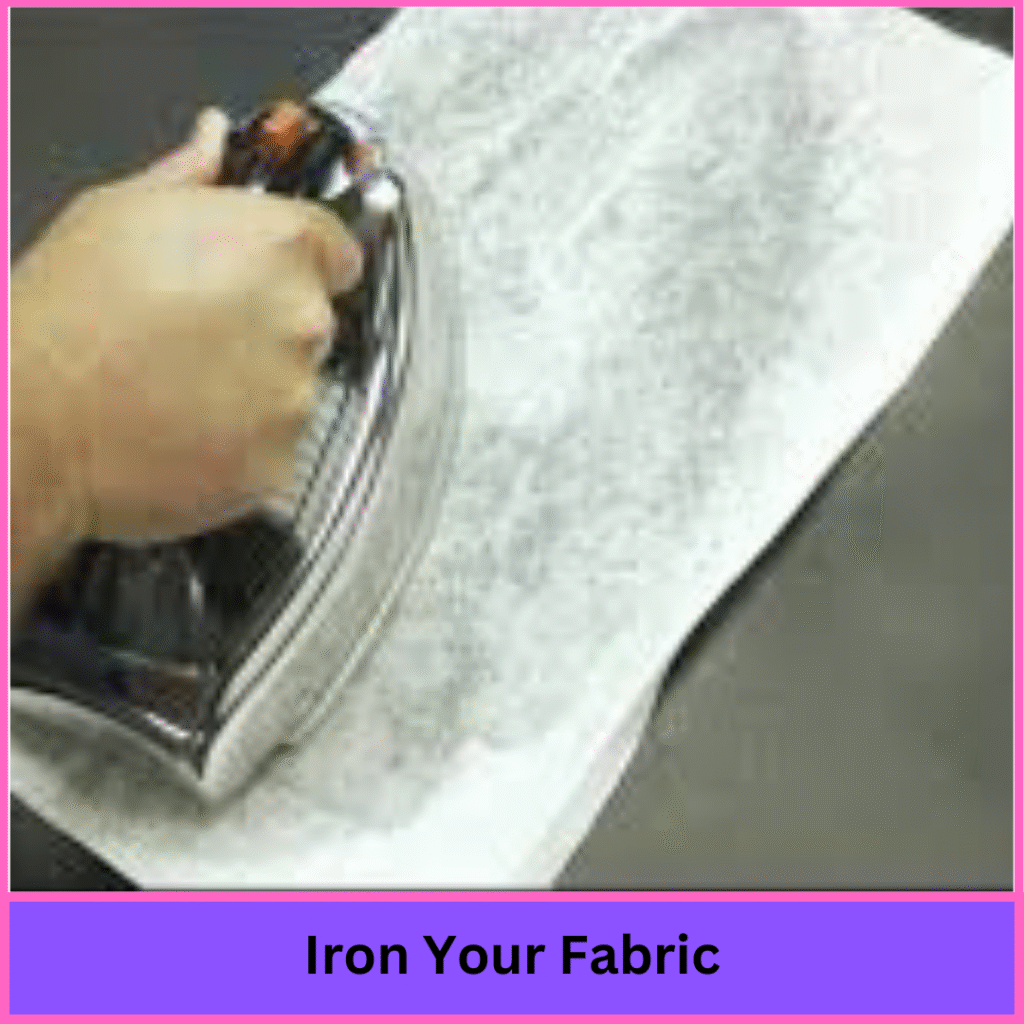
Begin by pressing your embroidered piece and backing fabric. A wrinkle-free surface helps achieve a clean final look.
Step 2: Position the Inner Hoop
Place the inner ring of the embroidery hoop on a flat surface. Lay the backing fabric over it, with the good side facing down.
Step 3: Place Your Embroidery
Fit the outer ring of the embroidery hoop over the layered fabrics. Ensure everything stays centered as you press down.
Step 4: Attach the Outer Hoop
Fit the outer ring of the embroidery hoop over the layered fabrics. Ensure everything stays centered as you press down.
Step 5: Tighten the Hoop
Tighten the screw on the embroidery hoop gradually, pulling the fabric taut as you go. This helps remove wrinkles and gives a polished appearance.
Step 6: Trim the Excess Fabric
Leave about 1–2 inches around the edge and trim the excess. This makes the next step easier and cleaner.
Step 7: Secure the Edges
Sew a running stitch around the fabric edge and pull the thread tight to gather and secure the back of the embroidery hoop.
Step 8: Tidy the Back
Ensure loose threads are trimmed. Add a felt backing if desired for a professional look when framing embroidery in a hoop.
Step 9: Add Decorations (Optional)
Decorate your embroidery hoop with ribbons, paint, lace, or small embellishments to match the theme of your artwork.
Step 10: Display Your Work
Add a ribbon for hanging, or place it on a shelf or inside a shadow box. Whichever method you choose, your embroidery hoop piece will shine.
Creative Alternatives to Framing Embroidery in a Hoop
Looking for something different? Try these alternative display ideas:
Picture Frames – Classic and elegant
Pillows – Turn your embroidery into functional art
Quilt Blocks – Ideal for heirloom projects
Tote Bags – Display your work on the go
Dowel Rod Banners – A rustic wall hanging
Shadow Boxes – For layered, three-dimensional presentations
Canvas Stretching – Gallery-style framing
Conclusion
Using an embroidery hoop to frame your designs is a wonderful way to elevate and preserve your needlework. Whether you’re making a gift or decorating your space, framing embroidery in a hoop gives your work the attention it deserves.
At Aspire Digitizing, we help bring your embroidery visions to life. Our expert team provides top-notch digitizing services with rapid delivery, affordable pricing, and unmatched precision. First-time customers enjoy a 50% discount—an excellent opportunity to turn your next design into a masterpiece.
Let Aspire Digitizing enhance your embroidery today!
FAQs
How to use an embroidery hoop frame?
Place the fabric between the inner and outer rings of your embroidery hoop, tighten the screw, and smooth out any wrinkles to ensure it’s ready for stitching or display.
How to frame embroidery in a square hoop?
Follow the same steps as a round embroidery hoop, but make sure the design is aligned with the square edges before tightening.Outsourced services handle the entire embroidery process with expert precision. They deliver high-quality results quickly, reducing delays and freeing up your time for other important tasks.
How do you present an embroidery hoop?
Hang it using a ribbon attached to the screw or display it in a shadow box or on a shelf for a unique presentation.
How to stretch and frame embroidery?
Iron the fabric, place it over the embroidery hoop, tighten it evenly, trim the excess fabric, and secure the back for a clean result.
How to place fabric in an embroidery hoop?
Lay the fabric over the inner ring, fit the outer ring on top, tighten the screw, and adjust the fabric for smoothness and tension.